My husband likes to take some kind of granola bar to work for his lunches, and we had been spending a lot of money on those when they’re honestly not that tasty. Then author pal Kevin Hearne posted a great thread on making homemade granola and that made me go “hey I wonder what Sally has for recipes!”
Sally had a lot of recipes, but the most intriguing one to me was the Vanilla Almond Snack Bar, which seemed pretty simple to make and didn’t require a ton of fancy ingredients. (Side note: I didn’t have almond meal or almond butter, so I made mine in the food processor out of sliced almonds. They are probably not perfect but they work, so if you have a food processor you can probably also do that!)
My only problem with the recipe was that once they cooled and I’d taken them out of the pan, I had to cut them. And 1) cutting them straight was stressing me out and 2) I have carpal tunnel which limits how much intense cutting I want to be doing anyway. So I found my life hack.
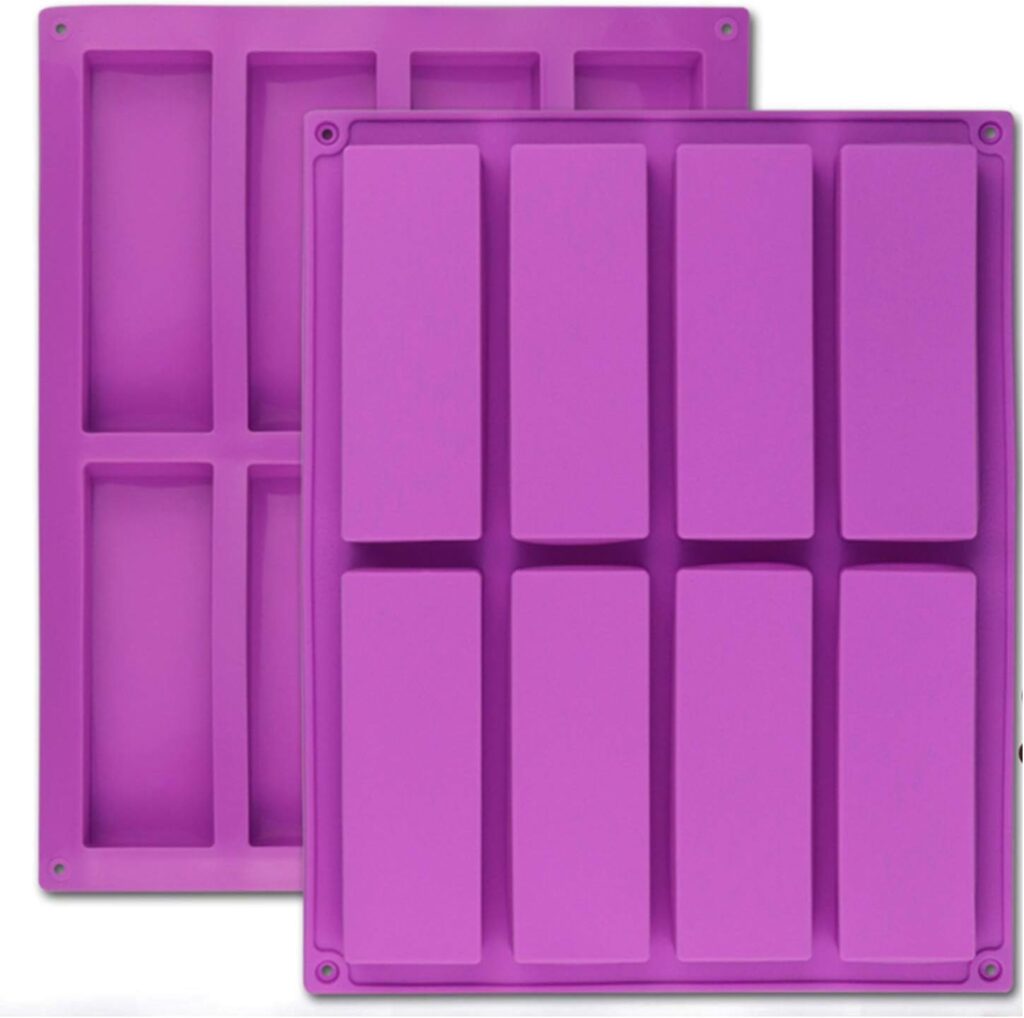
These silicone molds cost about $10 and I was a little wary that it would be a get-what-you-pay-for situation, but they actually worked great with one caveat: they are NOT solid like the souper cubes. Put them on a sheet pan or something to make it easy to transfer them around, otherwise they’ll just flop about and be a disaster.
But other than that, they work great! I just pressed my nut mixture in pretty firmly (my tweak on Sally’s is to use a mixture of almonds, chopped cashews, and pistachios instead of just almonds & sunflower seeds, it is a REALLY flexible recipe if you keep the ratios of honey to nuts similar!) and then baked for 20 minutes.
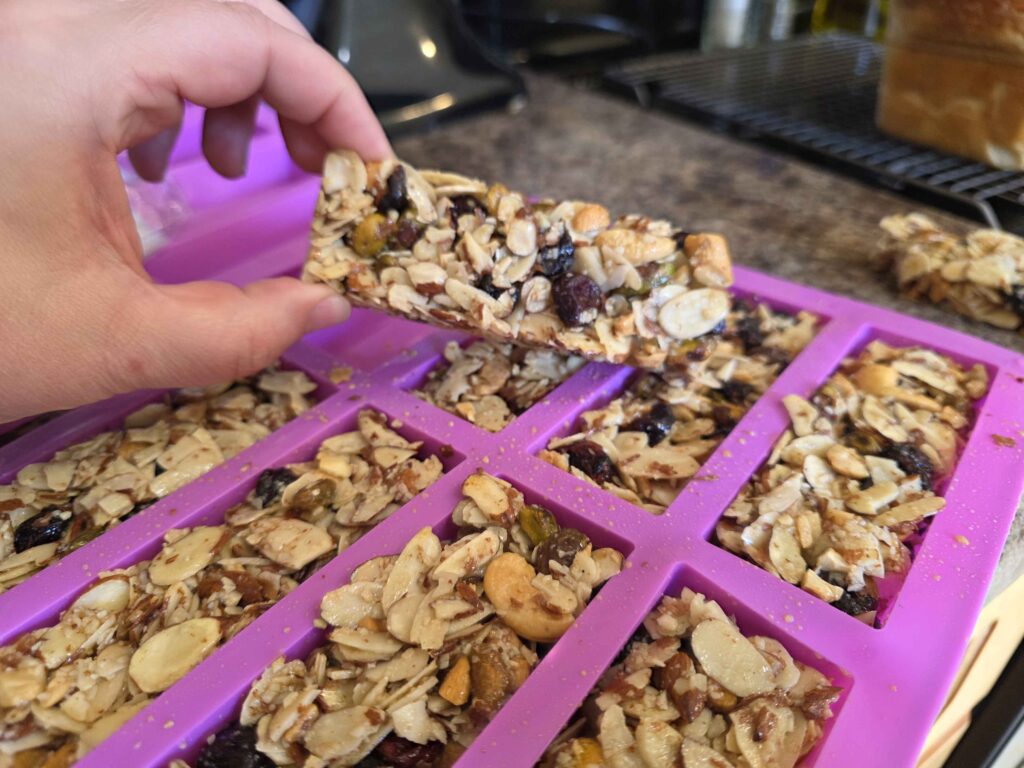
Letting these cool before trying to remove them seems to be key, but after about an hour on the counter and another hour in the fridge, I popped them out and packaged them!
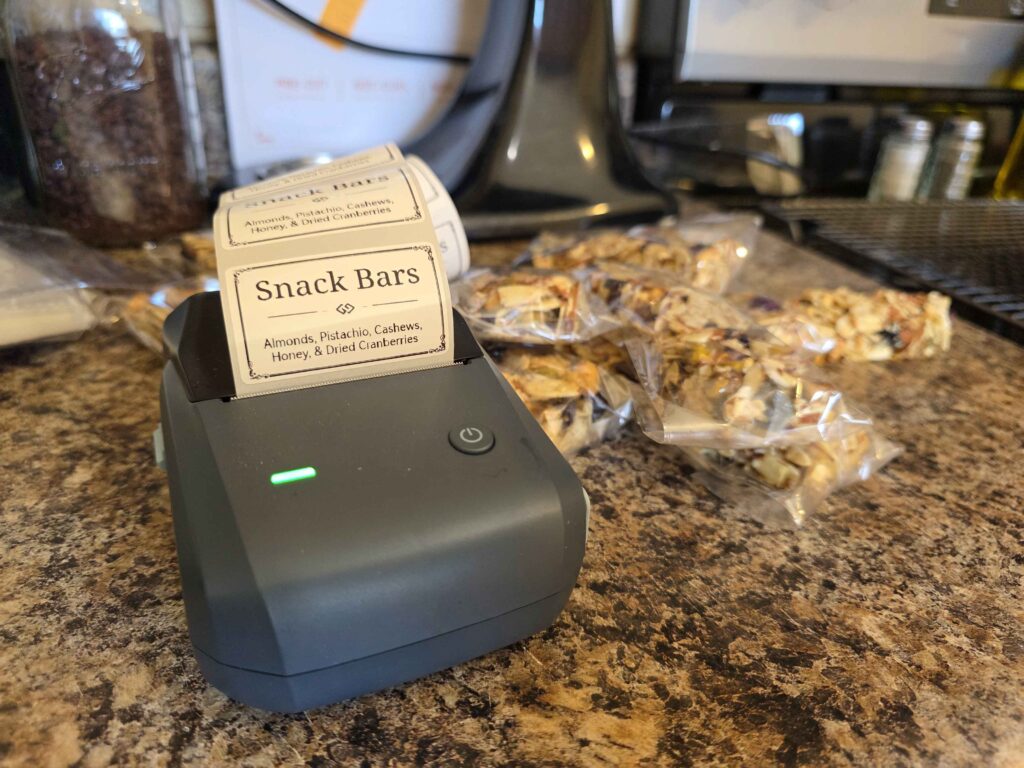
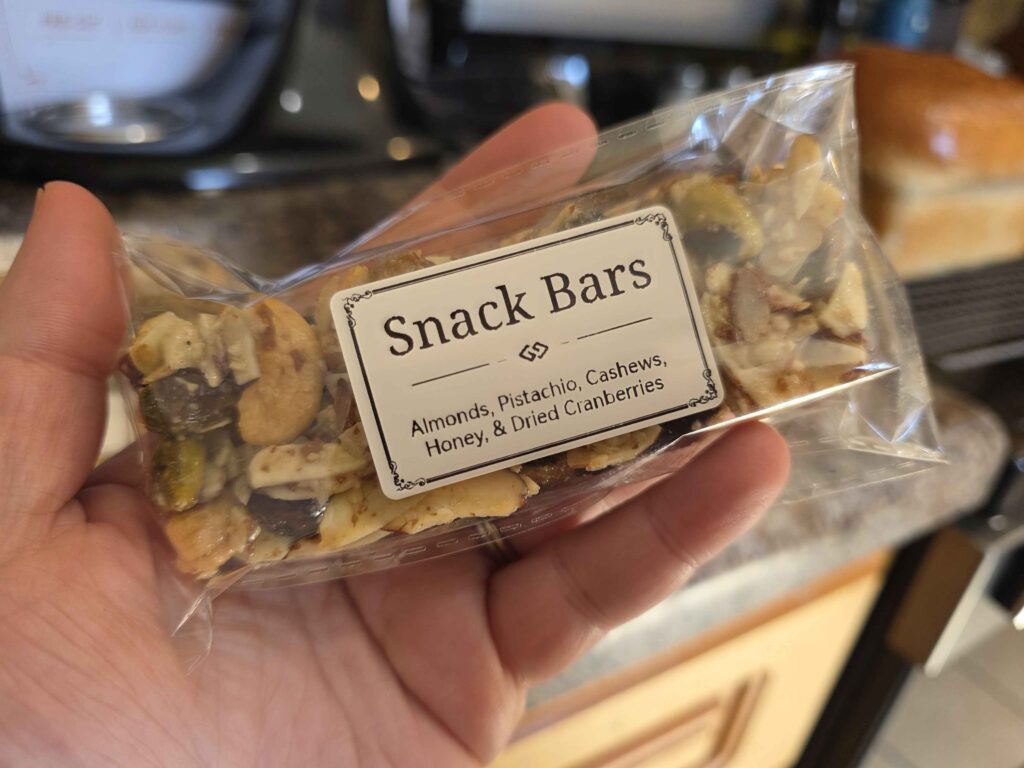
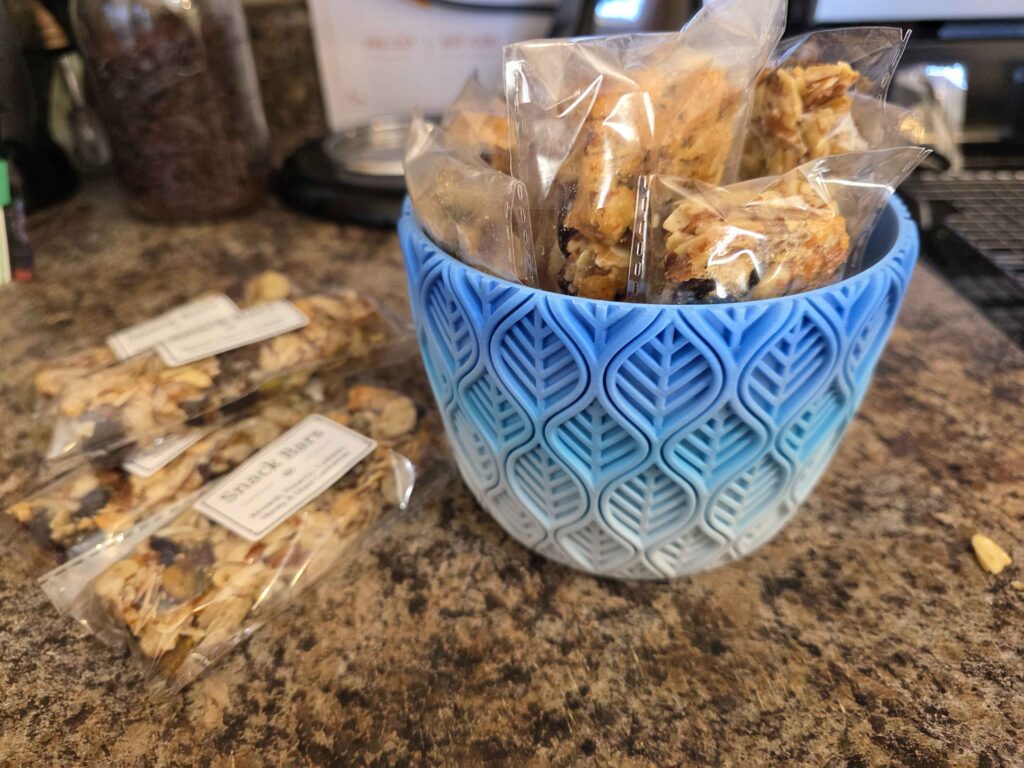
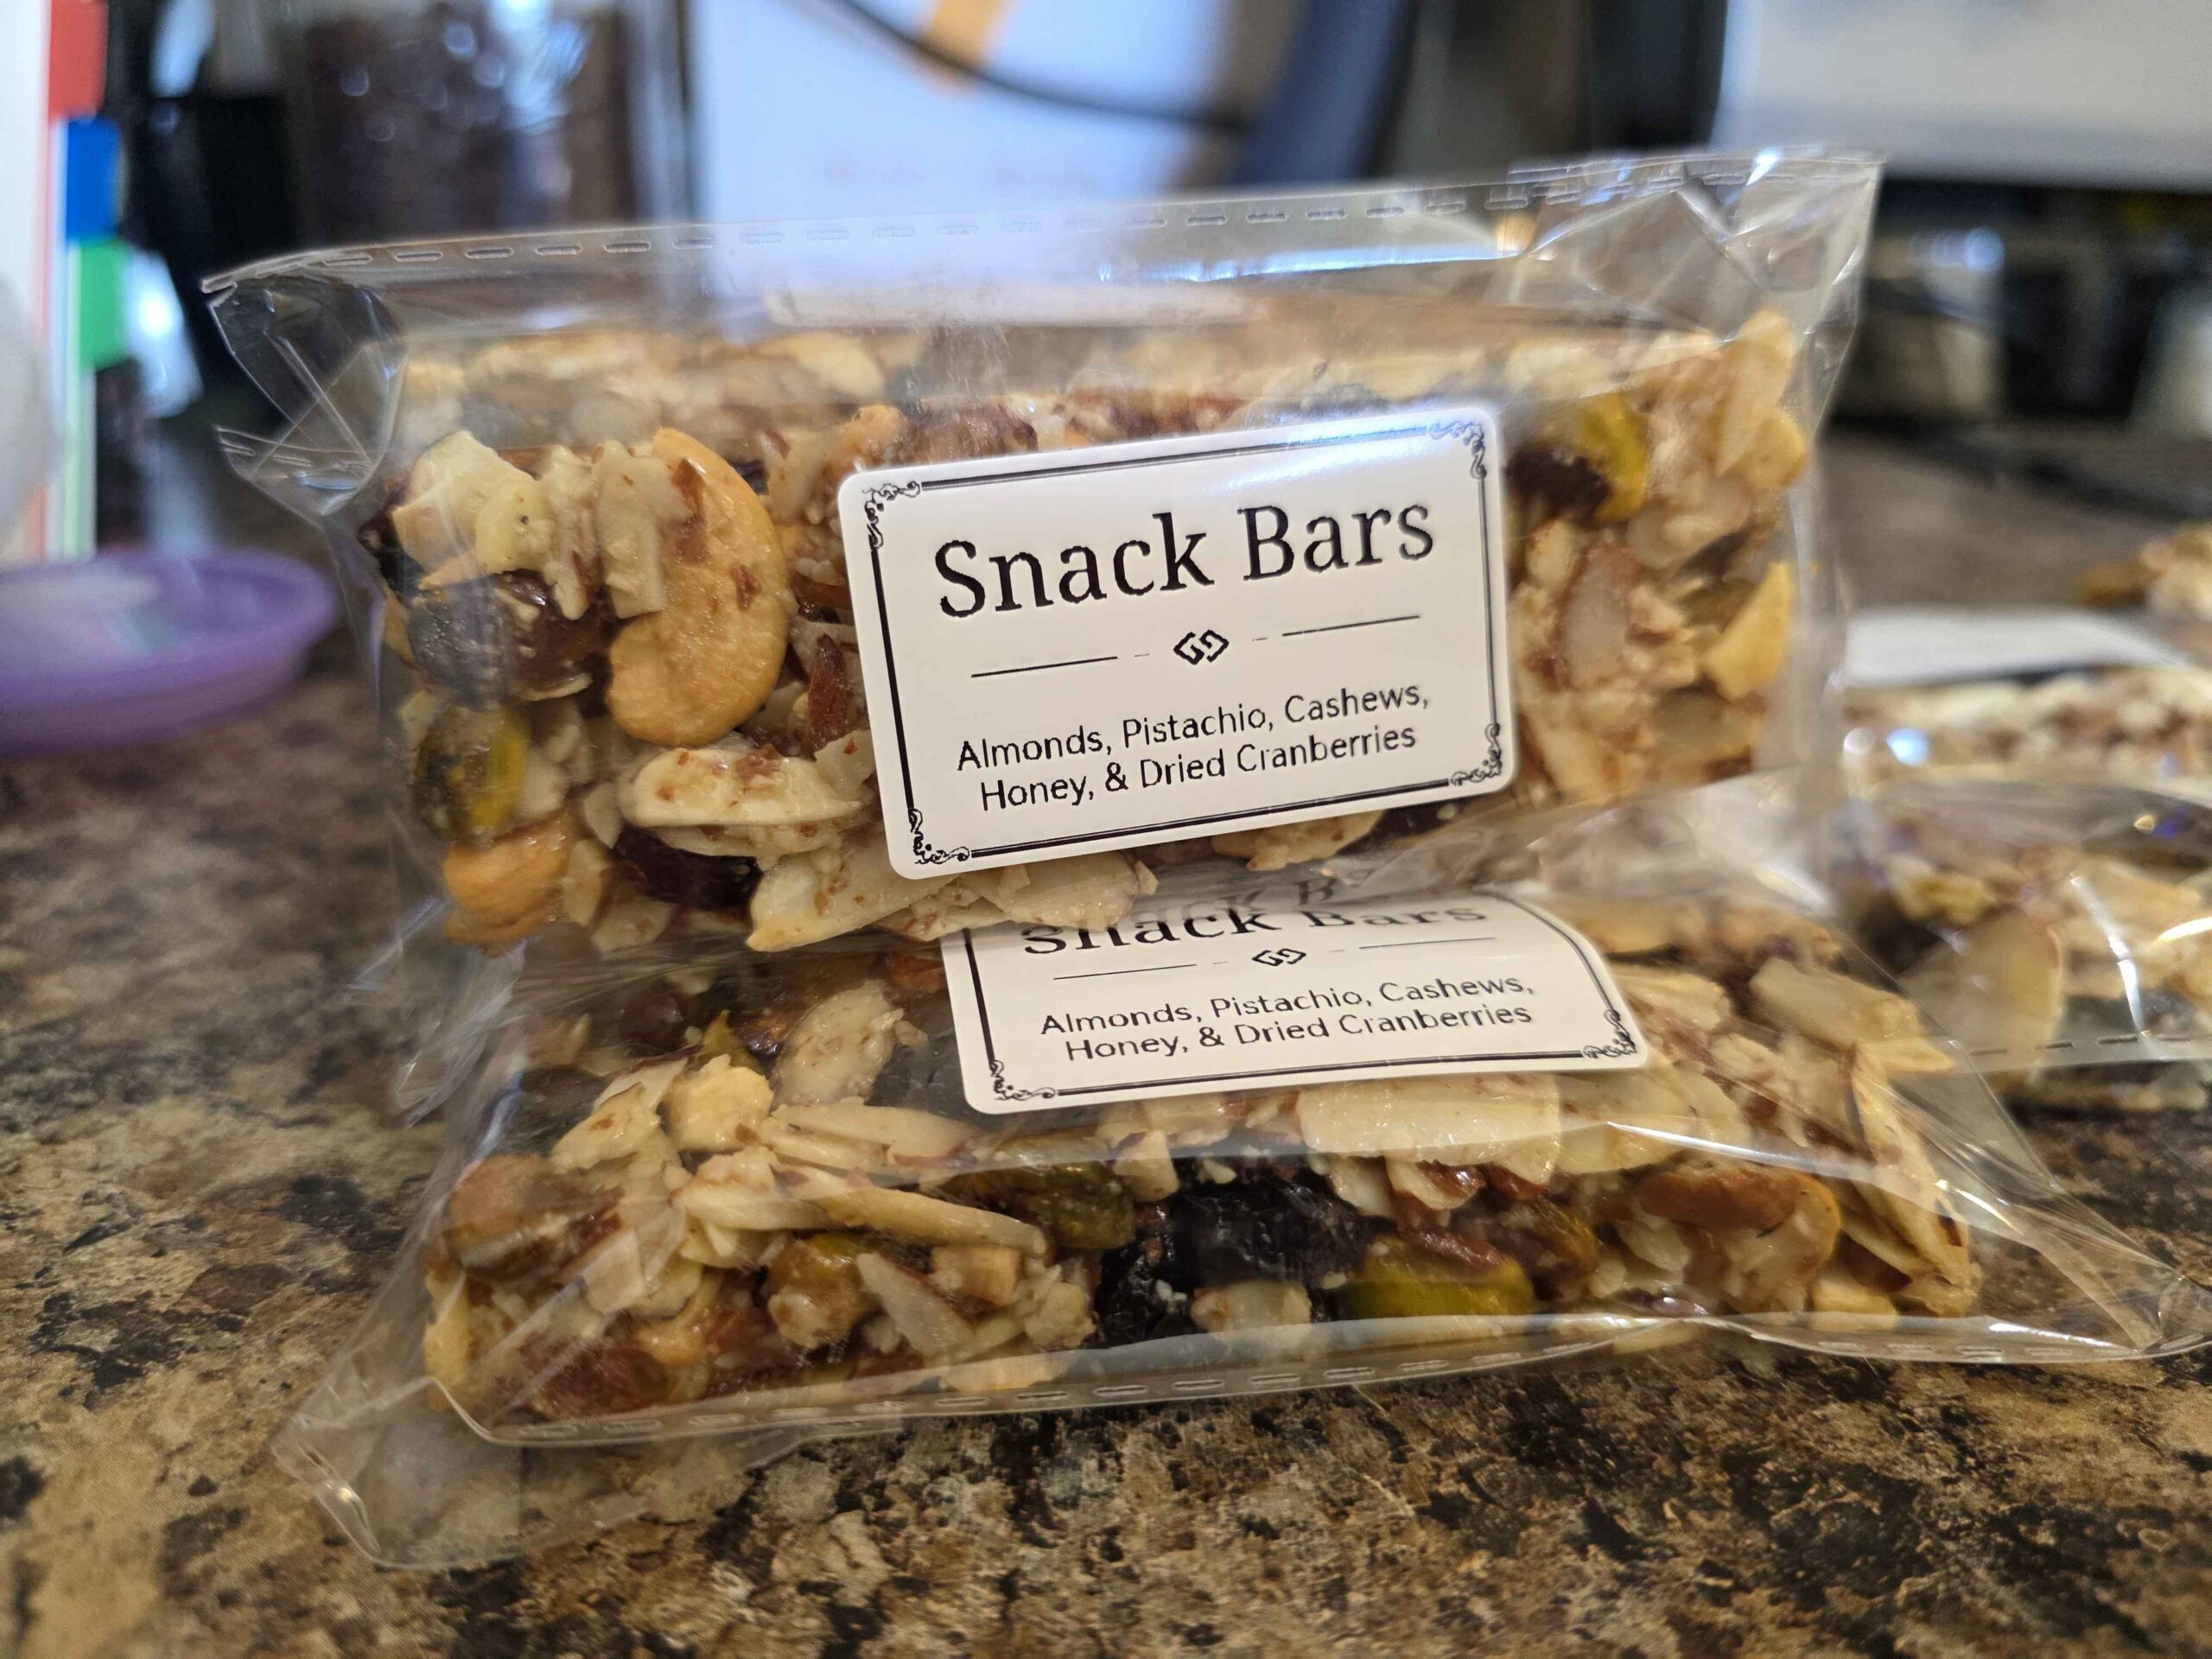
Because I’m me, I always label them with my trusty Nimbot labeler, which now lives in the kitchen. I also got these tiny little 3×9″ bags which were $8.99 for 200, and fit the bars from this mold perfectly. These can be stashed in the fridge for a couple weeks or for a couple months in the freezer, so I 3D printed us a cute little bowl where they live in the fridge, and every time the stash gets low we transfer some from the freezer.
Sally’s recipe made 9 bars in these molds, which was a little silly since it was one full mold and 1/8th of the other, but I probably could have packed those in a little tighter for a nice neat 8 bars… or doubled it for 16! (I will definitely do that now that I know how many the molds hold!)
Now I just need to remember to set up the 3D printing section so I can do a post about how good those particular storage containers look in Ziro’s gradient filament!